I really enjoyed this project, going into my only goal was to make something because I had never coded before this. Which as you can tell from the fact that I’m making this post I was able to do that. While working on this I had a lot of fun which surprised me. It was challenging, but also not, in that everything you do is intentional and not only was it a design project, but the creation of it was kinda like a puzzle.
I stuck mainly with green as my main color because I like it. I made the background an oaty color because I thought all white would be too much, but I still incorporated accents of white in the nav bar and the footer (which you can’t see). I was not able to post my website because I was unable to get the VPN to work for me. When choosing the fonts I used I wanted to make sure they went well together while also creating a look that I felt represented my personal design aesthetic. I also wanted to pick fonts that were common enough that they could be on anyone’s device. For the most part how I made most of my design choices was just me messing around with the code and if I liked it or thought it looked cool I kept it. I think having that be the main thing driving my process let me have a lot of fun with this and I felt comfortable trying out things that I didn’t know would work.
In this magazine, I tried to capture the artwork of the famous sculptor, Alberto Giacometti. I tried to keep the color scheme and layout to a minimalistic design, and the colors represent the clay that was used in his artworks. There are lots of browns in this design, as I thought that they would go hand in hand with each other. I tried keeping it close to a representation of an art museum’s feel that is sleek and minimalistic, letting the artwork speak for itself. I like the idea of starting the article off with “Edge of Madness” really capturing the state Giacometti was in when creating his art pieces.
As someone who also has a creative art background, I think it is important to highlight how a lot of artist spend so much time on their pieces that it starts driving them mad. Then, for the second story of the article, I wanted to showcase his paintings and drawings at the Tate in London. Seeing his earlier artwork, you can tell his designs have changed because of the madness that was driving him. I think that it is important to note that the artist themselves are their worst critics and the feelings of creating an art piece are seen through their artworks.
I ended up trying to capture and highlight Giacometti himself. I think that it is important to know the artist’s true intentions before making assumptions on the “why” and “how” when it comes to an art piece. Art is beautiful, and art is interpreted in many different forms. I took what I learned in my art class and tied it back to the magazine to encapsulate the meaning of Giacometti’s work.
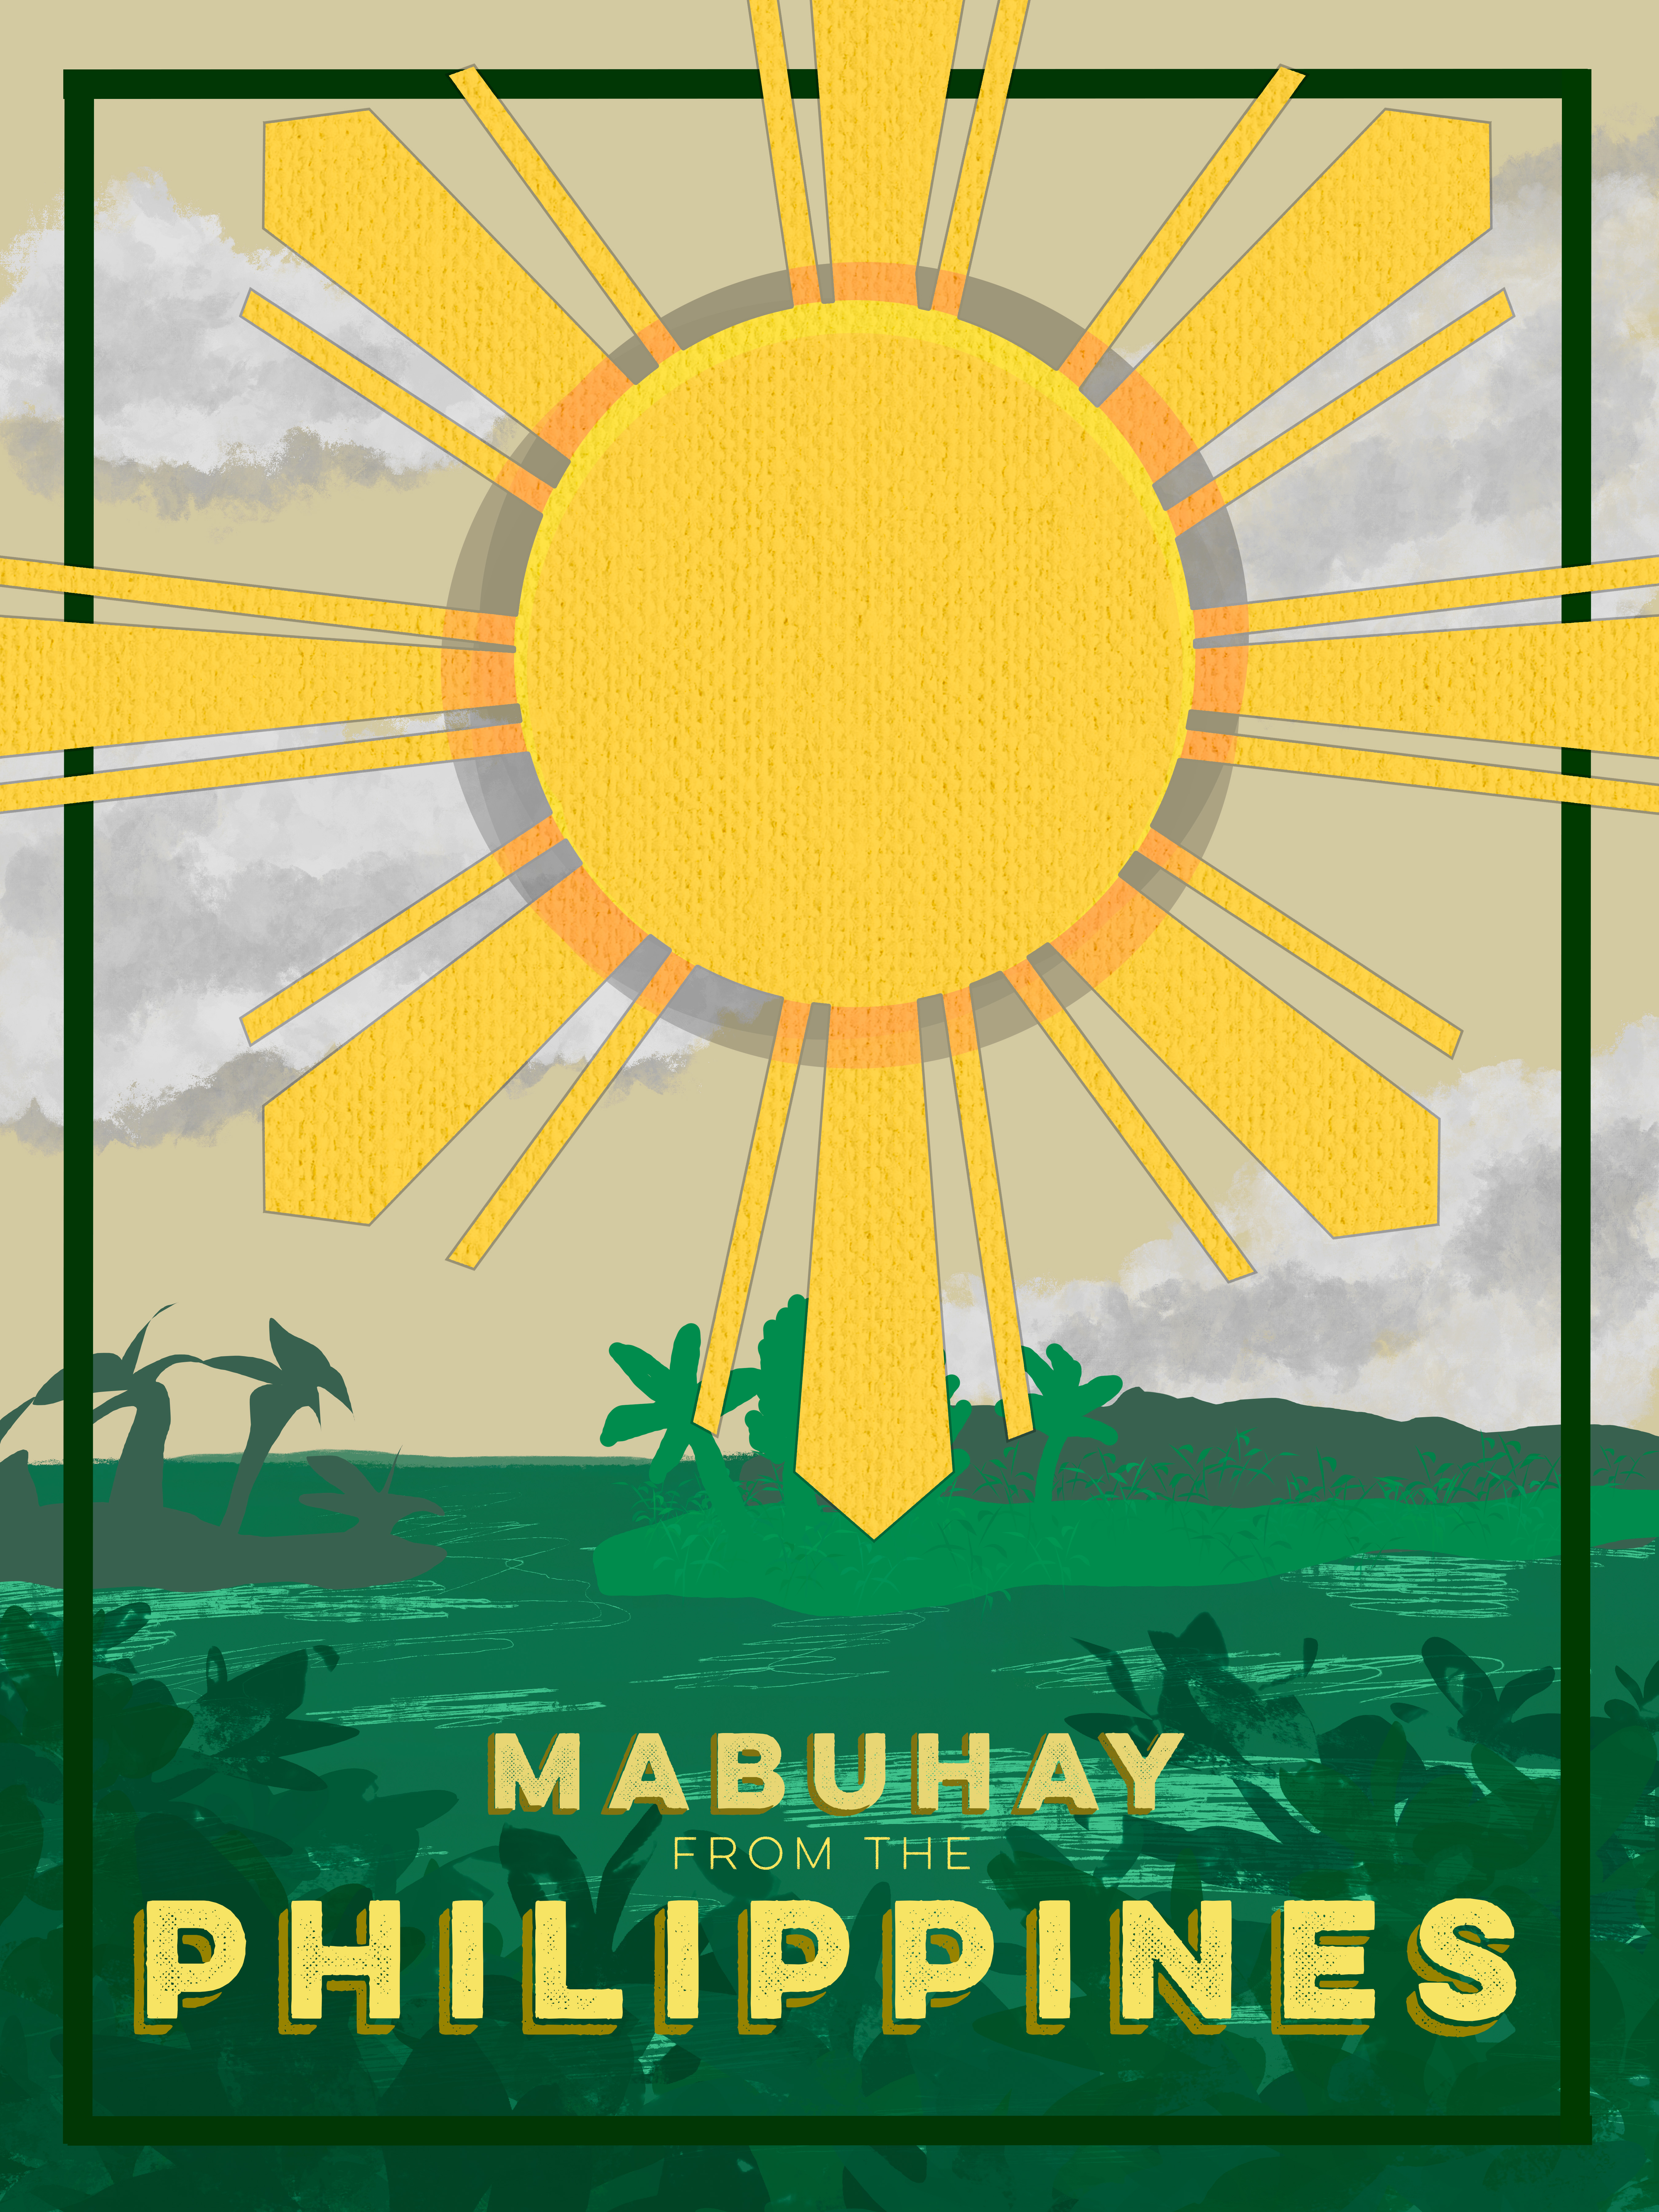
I took my own spin on the project, and I made a poster capturing a country. The event itself is coming to that country to explore and enjoy what it has to offer. The poster design I chose was a poster that I would hang on my wall. It has the Philippine sun on the front with a woven texture to capture the country’s known design of wicker and threaded items. I used greens and light sandy browns to capture the lush greenery found in the Philippines with the typography “Mubhay” which also means “Welcome” in Tagalog, the native language of the Philippines.
I learned a lot from this project, and it took a lot of layers and redesign to get it to where I like it. I am not particularly proud of this poster and wish it could be better, but that’s because I designed it. I tried taking various elements from other Filipino event posters and tying them to my own work and design. I drew a lot of things on the illustration poster and used various brushes to create something that matches the overall theme.
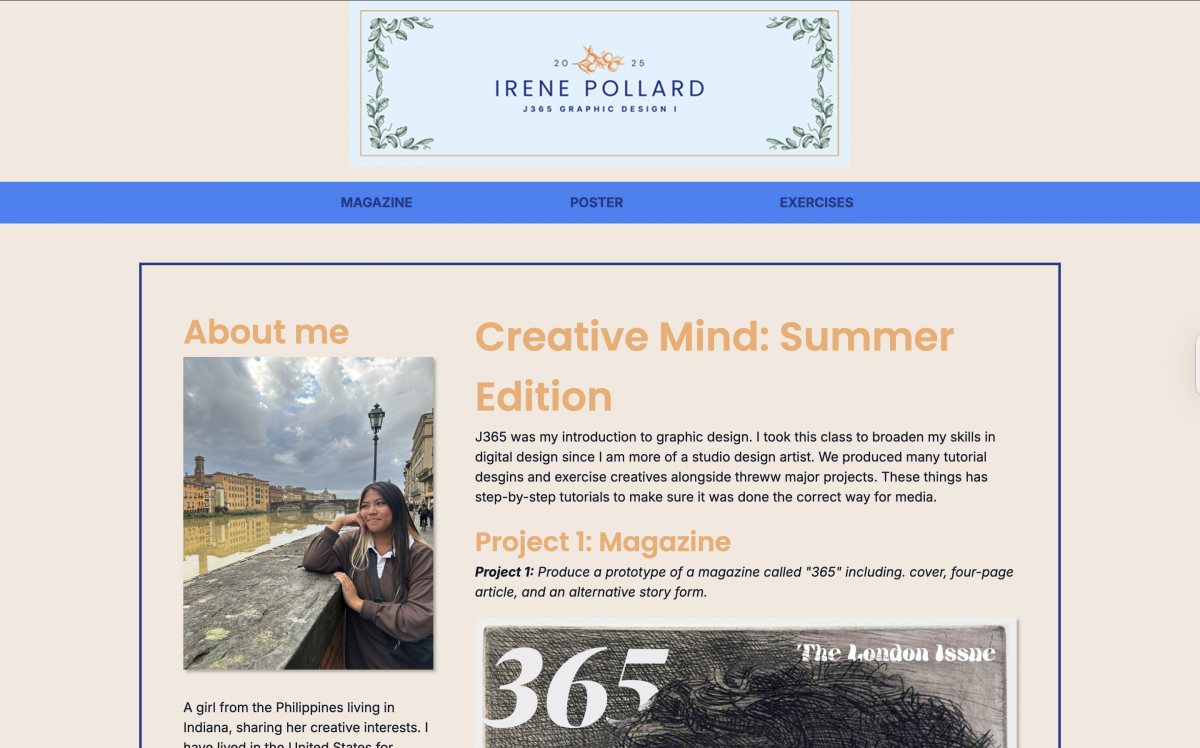
Here is a closer look at the website that I designed. I think that it took longer than expected but that is with a lot of other projects.
Overall, I think that the designed and color scheme I used really represents who I am, I used my favorite colors of orange, blues, and greys. Coding the website was not the hard part for me but getting my wifi to work. I really tried my hardest to come up with a sleek and minimal design that also portrays who I am.
This is something that I was proud of doing. I’ve coded before but I always hated it, but for some reason, this was actually really fun to do.
The website I created is a culmination of the work done from this summer session. While I was finishing the class, I was in Vietnam, and the VPN did not work, so I was unable to publish my work. Here is a screen grab of the top portion of my website.
The layout of my magazine is balanced and cleaner than my original one. In the readers poll, the headline matches the headline color on the first page, while showing all of the covers with the explanation for each next to the images. It also comes out more in the Giacometti pages, the main image of the museum takes up the first page using it as a cover for the Giacometti article. Then on the article pages there are many images throughout showcasing his work, in both paintings and sculptures. The way the images are spaces out it helps break the reading up while not being random.
The fonts seem to work very well together, the headers are bold but not too strong, while having a consistent side, and the body is clean and readable. I used Impact for the headers and Minion Pro for the body. They fit very well together and allow the headers stand out from the body. For the coloring, I used the drop tool and took the grey off the the big ben tower.
Spacing and margins are also a big improvement this time. The text blocks are better aligned, and the gutters between columns make everything feel more open and easier to read. It’s clear you paid attention to where things sit on the page—nothing feels like it’s drifting or accidentally placed. Overall, the composition shows that you thought through the design choices more, and it really makes a difference in how the magazine comes across visually.
Overall, I learned that the small design choices I made, like how the colors matched and how text and images are spaced, helped the story move along in the reader’s eyes. I also figured out what worked and what did not.
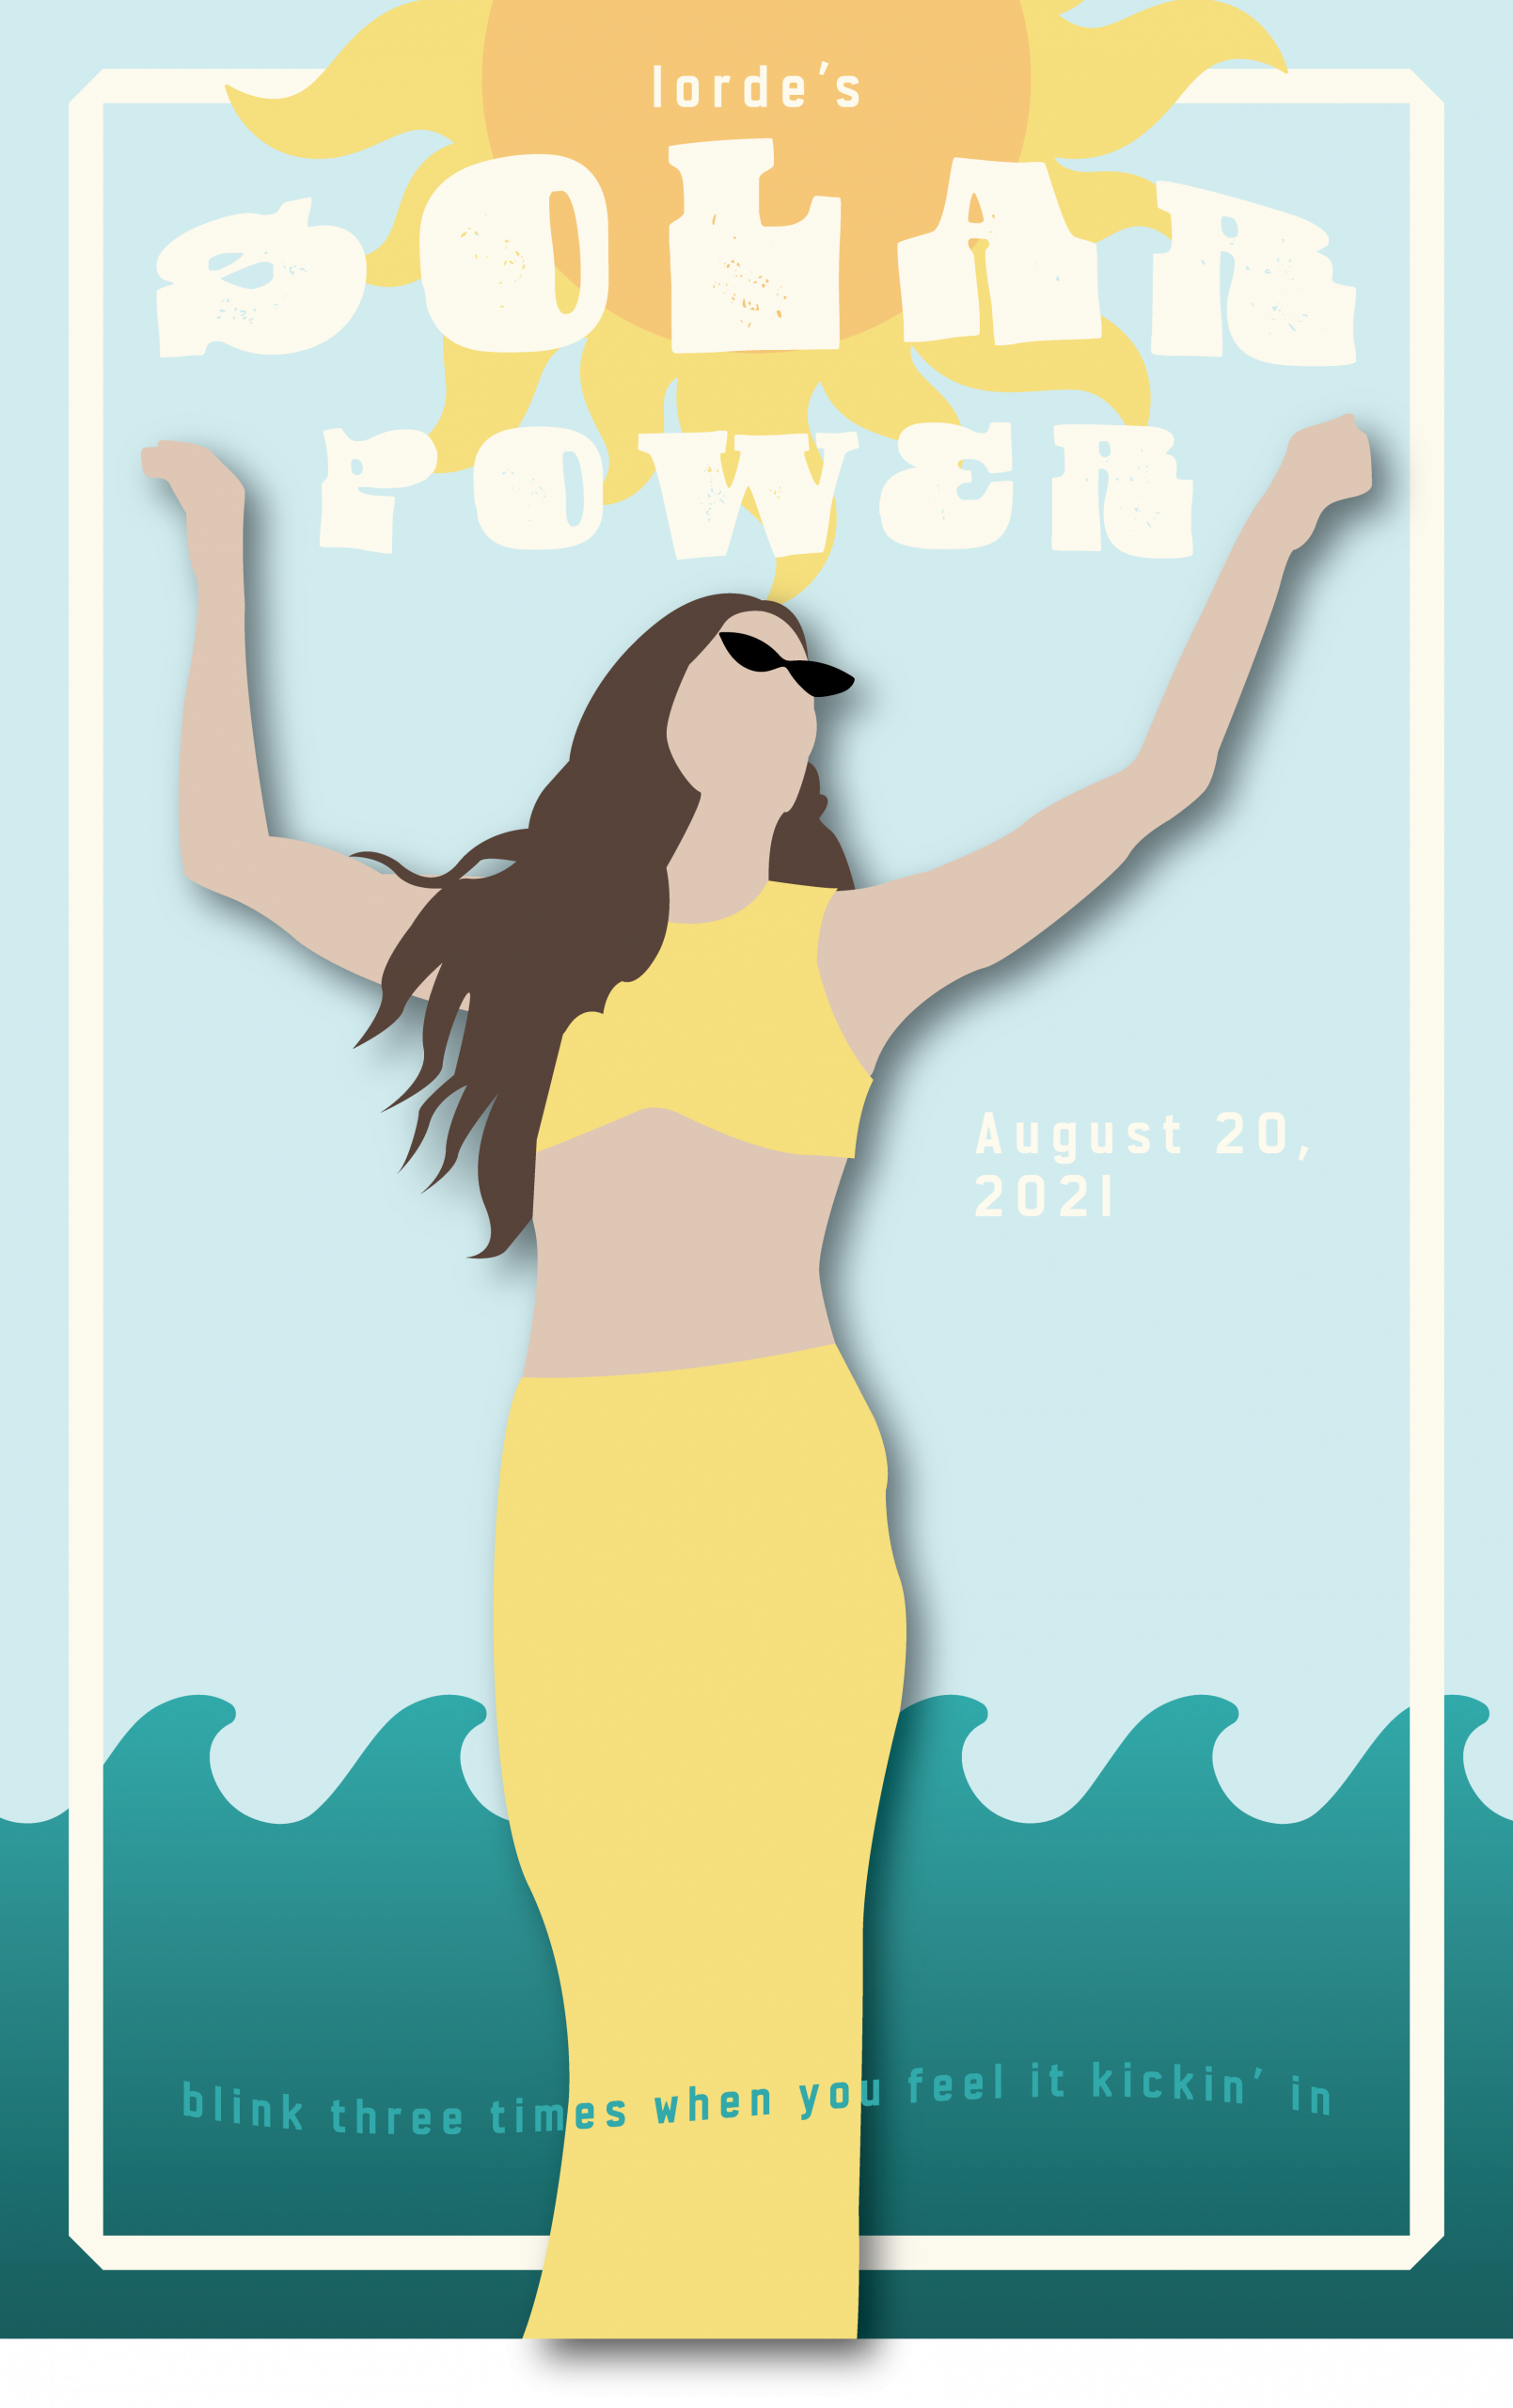
My goal was to create a vibrant, summer-inspired poster that captured the energy and freedom of Lorde’s “Solar Power” album through warm colors, balanced composition, and authentic connection to the music’s themes. I believe the final product was successful in terms of these objectives. The yellow and blue color palette effectively conveys summer vibes, while the central figure with raised arms creates the sense of celebration and liberation I was aiming for. The typography integrates naturally without overwhelming the design.
I started with sketches exploring different compositions before settling on the figure-centered approach. The biggest challenge was achieving the right balance between the text and visual elements. Creating depth in the flat, paper-cut style was also difficult.
The cohesive color story is my strongest achievement. The warm yellows and cool blues work together to create a calming feel, while the layered composition creates unity between all elements.
I need to develop stronger typography skills, particularly in creating more sophisticated hierarchies and text-image integration. This project taught me how color and composition can create emotional impact while balancing artistic vision with clear communication.
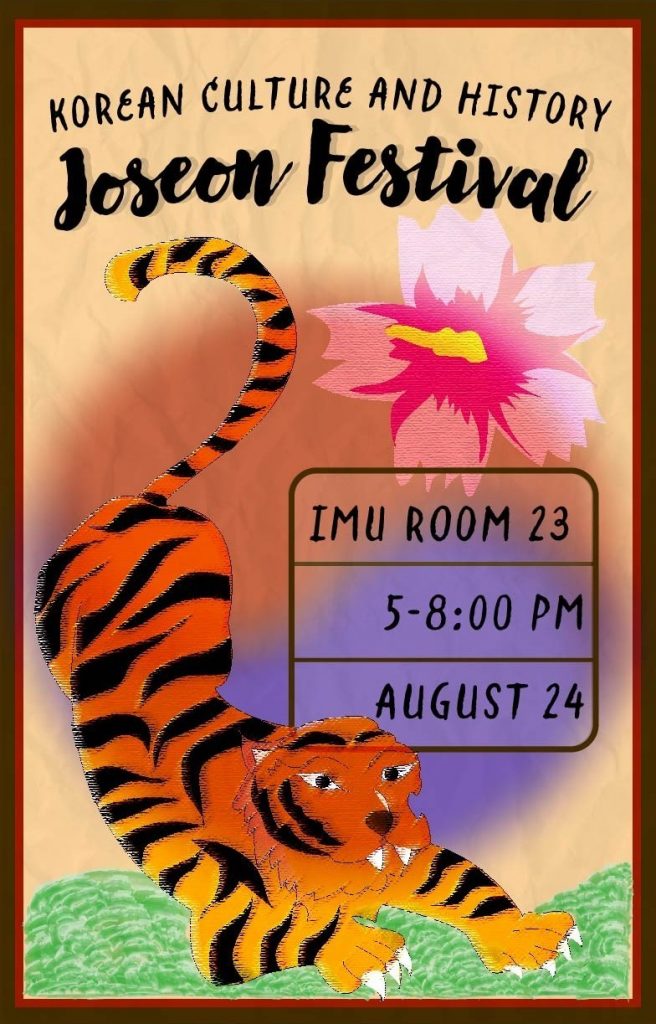
I decided to do a poster on a make-believe Korean festival (Joseon refers to the Korean dynasty) to honor my heritage. Moving to Bloomington and attending IU has enabled me to learn about Korean history and culture, so I saw this project as an opportunity to express that.
I decided to use a textured paper background that was demonstrated in the last tutorial, and a dark brown and deep red border for visual harmony. The South Korean flag is worked into the background. I roughly drew the red and blue symbol with the pencil tool and used the blurring effect to make it look as if it’s been lightly painted on paper.
I wanted the typography to emulate Chinese calligraphy, like elegant brushstrokes. I used the font “Lullabies”. The headline has a light shadow just for some differentiation.
The tiger and flower are my attempts at using the pen and pencil tool in Illustrator. I hand-drew the tiger first and used that as a reference, whereas the flower I played by ear. The tiger, Korea’s national animal, is a historical symbol that represents the nation’s strength and resilience. The flower is the rose of Sharon, the nation’s flower. I applied the “Rough Pastels” artistic filter on the tiger; the result reminded me of traditional Korean artwork. Setting the blending mode to “Hard Light” made the tiger vibrant and eye-catching. The tiger is the biggest element of the poster, and I positioned it to kind of go in the flow of the flag symbol. For the flower, I applied a “Film Grain” effect and set the blending mode to “Overlay” for a soft, textured look. It was included primarily for visual balance, but also for its cultural significance.
I took inspiration from the tutorial for the time and place box. I also put a white box with low opacity under the text to make it more legible.
After adding the time and place, the bottom was looking a little empty, so I added some grass by using the watercolor paint brush.
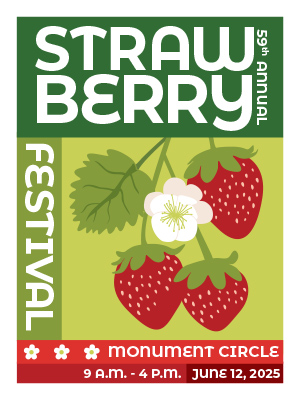
My Goals for this poster was to go out of my design comfort zone and make something in a style I don’t normally use. Mainly having a sans serif font as the main font used cause I tend to gravitate towards serif fonts. My creative process consisted of a lot of sketching and thinking about what choices I wanted to make and overall how I wanted the vibe/look to be. I looked for inspiration on pinterest and made a board to save any color combinations or posters that I like design elements in.
I think the colors in my poster are pretty good, I stuck mainly with green and red (because strawberries) and I am happy that it doesn’t read as christmas cause that can easily happen with green and red. I think the illustration of the strawberries also turned out really well. It is still cartoonish while maintaining a good amount of realism. I think the placement and sizes of the text were hard to perfect and deciding how much/little detail to give about the event. In the future when I work on posters I want to work on my illustration and make them more stylized along with more detail.
Going into this assignment my main goal was to learn how to better use Illustrator. While I am familiar with the program and have used it for small projects, I have never created something on this scale before. Due to this I wanted to learn more about the different tools that Illustrator has and utilize them to create my design. I especially wanted to fine tune my pen tool skills. As a whole I think that I met those goals within this project. Throughout the unit and my project, I found that I was able to significantly improve my Illustrator skills, including making smooth bezier curves without any unwanted, sharp points. I also found myself becoming far more familiar with the tools in illustrator, utilizing symbol sprayer, color guide, and gaussian blur effects, throughout my design, bringing it to life.
For my poster project I decided to make a poster for an event that recently ended at my local zoo. It was called Zoo Luminate and our entire zoo was decorated with Chinese lanterns in the shape of zoo animals. The lanterns were all really pretty and I instantly thought that this would be a great event to make a poster for. I decided to focus on two different lanterns for the design; a traditional Chinese lantern and a lantern at the event that looked like a giraffe. I chose the giraffe because the giraffe lantern greets visitors at the zoo entrance; the giraffe is also one of the zoo’s main attractions. Since it was a central component to the event and to the zoo as a whole I thought it would be great to include a giraffe in the design. I decided to use the traditional lantern to visually represent the event and had it placed in the sky like it was a moon.
I think the part of my design that was the most successful was the giraffe, though I might be partial to it since it was the component of the poster that took the most time. I spent a lot of time fine tuning the details, trying to give it character while making it look accurate without being too flat. I spent a lot of time drawing each sploch on the giraffe so that they were the right shape and size and adjusting each of the radial gradients to make sure they looked right. However, the giraffe was also one of the most difficult parts of the project because during most of the work it looked too flat compared to the rest of the design. This turned out to be the hardest part; making the whole design cohesive but also alive. Early on in the project I added some gaussian blurs and backlighting on the lantern and the stars to make them look like they were glowing, which created a cool effect and helped make the elements look less flat. I duplicated the text, applied a heavy gaussian blur, and made it a darker color to add texture and color to the text to make it look less flat. These changes made the giraffe look slightly off compared to the other elements . I spent a lot of time trying different things to get it to not look so flat. I tried adding a gaussian blur to the giraffe and some backlighting, which looked good but didn’t fix the problem. I kept changing and modifying the giraffe but it still looked flat. Eventually after a couple of days of sitting with the problem I realized that the giraffe was pretty pale and that the singular color I originally had on the body of the giraffe was the issue. I added a gradient and made the giraffe darker and it just pulled it all together. Looking at the poster now, I think I overcorrected a little bit and made the giraffe too dark, but I still think it looks pretty good.
Overall, I didn’t really have any parts of this project where I felt like I made any big mistakes, which is good. I made a couple of small mistakes with layering, like making a layer over another layer when it needed to be below it. In the future I think I will also be more mindful of when I create a layer from the beginning of my design because I found myself having to create layers or move things from one layer to another while I was in the middle of editing. Besides those issues, I think for my next project I want to spend more time playing with Illustrator and experimenting with different effects and tools. While I feel like I did a good job using the different tools that were in our tutorials, I didn’t spend a lot of time exploring the other things that Illustrator offers, especially when it comes to different textural effects that it has. I think I also want to utilize the path finder tool next time since I didn’t really need to use that in this specific design.