In this last week, the class learned about HTML and CSS and used those lessons, as well as a structured tutorial, to build a website. I will use this post to explain what I wanted my webpage to look like, what I did to make it unique, and where I must improve.
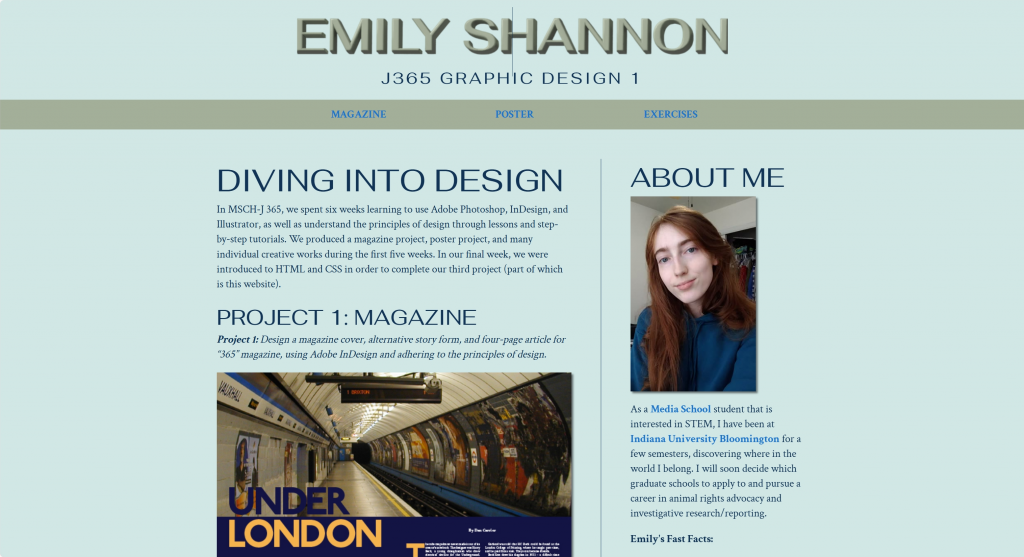
First, it was my goal to create a web page that created an analogous color palette and highlighted my favorite projects, while also showing a few design skills that I learned that went past the tutorial. One of my largest challenges since starting college was to try to understand code. When I looked at the handout and the submission page and saw that were expected to add our own creative elements, my world stopped for a moment, and panic set in. Thus, I set out to follow the tutorials closely, but make minor changes as I went, and then add a personalized flair at the end, once the rest of my code was set in place. I chose a green, blue-green, and blue color scheme, and I then deepened or lightened the colors whenever needed. For our typography, I tried around 15 fonts before settling on Crimson Text for my serif font, and Fahkwang as my sans serif. I loved the simple, clean look of the Crimson Text, and the blue-green background against the deep navy type reminded me of nature and herbs. The sans serif had the wonderful contrast to the evenness of the serif font, and some of the lines that made up the letters were wider or thinner than others. I loved this look. The header was one of the most difficult pieces to create, as it kept being cut off when I added it as a background image. After spending a few hours tweaking the size, the rendering, and the color, I had to fight with my code to force it into the position I wanted and leave a large enough margin. I chose my photo because I have very few photos of myself, but I dislike this one, as I think that it looks a tad blurry on the page. Thankfully, the photo had hues that I could use for my color scheme though.
To make my site more unique, I made smaller changes while watching the tutorials and later added a list, an extra link, and color variations, and 3D header. Because I was not familiar with coding or using code to design, I tried to follow the tutorials and make minor adjustments as I felt more confident. The final stage was adjusting my aside and creating a bulleted list, smaller image, and multiple links. Because I wanted to practice using IDs, creating long links, and adding lists, I used the aside as an opportunity to make my site a bit different from our professor’s. Yet, I struggled to create an aside that looked aesthetically-pleasing, because the addition of the unordered list meant that my “sticky” text only allowed a certain number of words to be viewed; my list became trapped by the “sticky” type. I finally resized my image to fix the issue, but then I began wondering if the photo should align with the “About Me” sitting above it, and I wasted hours trying centered alignment, justified alignment, and changes in photo size. If I could change anything, I would likely find a way to use a larger photo while still having a longer aside and “sticky” type. In addition, in the future, I want to experiment more with the space. I think that my webpage is nice, but I wish that it looked more interesting, and less like our professor’s. My only defense to my lack of additional creativity was my fear of somehow ruining my code and having to start over.